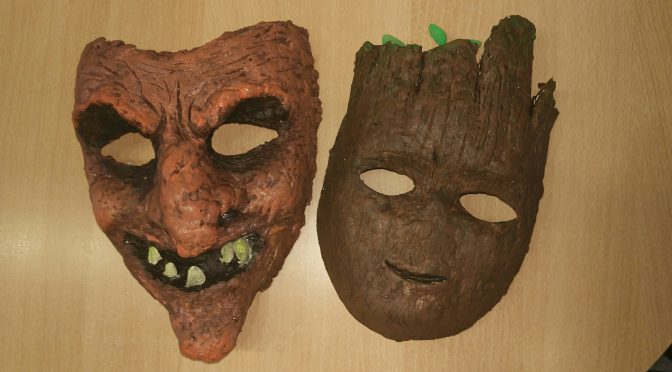
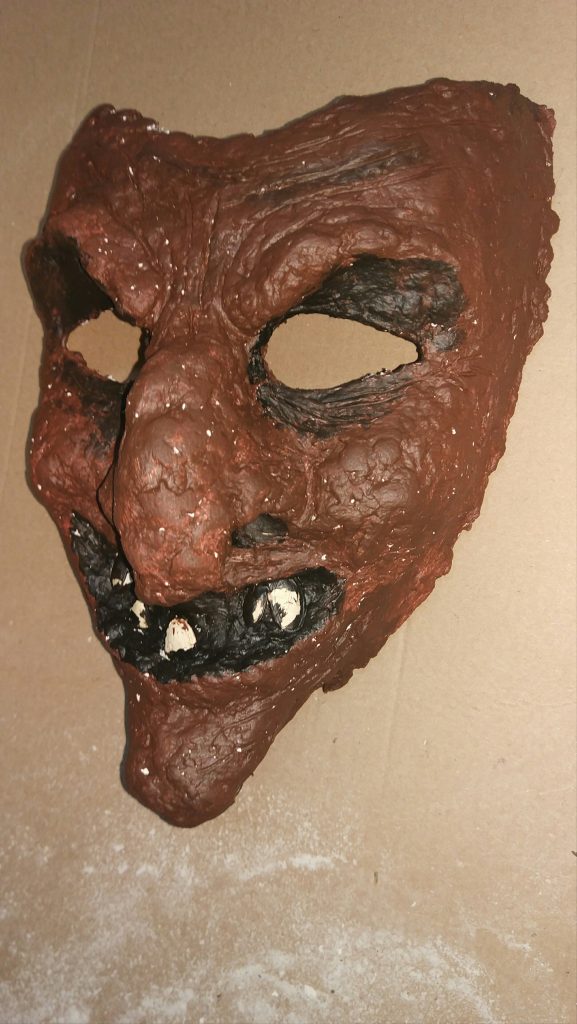
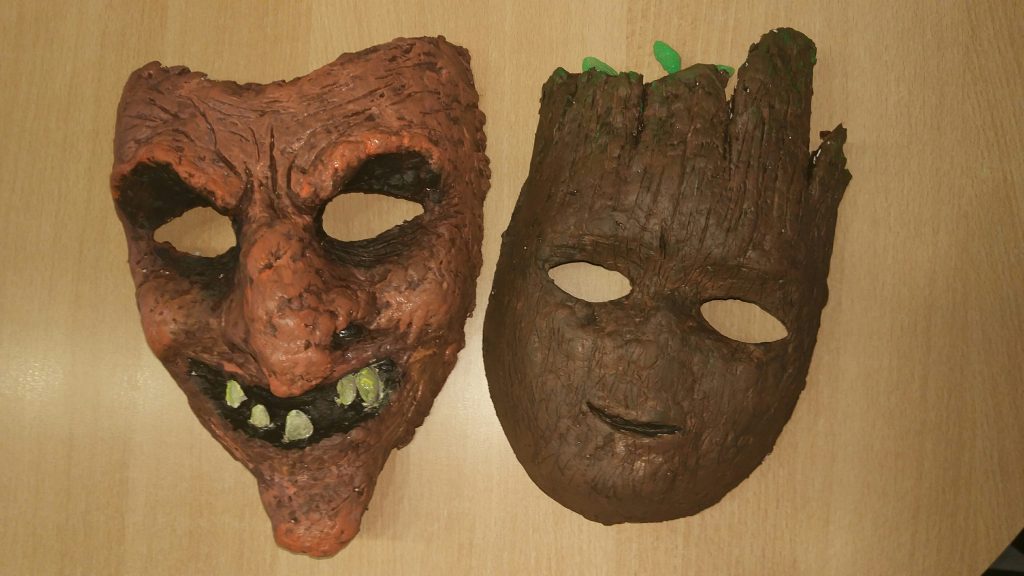
I gotta take time more often for stuff like this. Anyway we decided this year we (me and my children) make our own halloween masks. My daughter decided to go for a witch and my son for baby Groot.
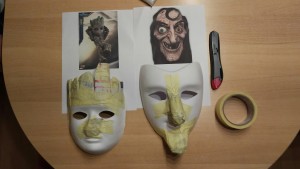
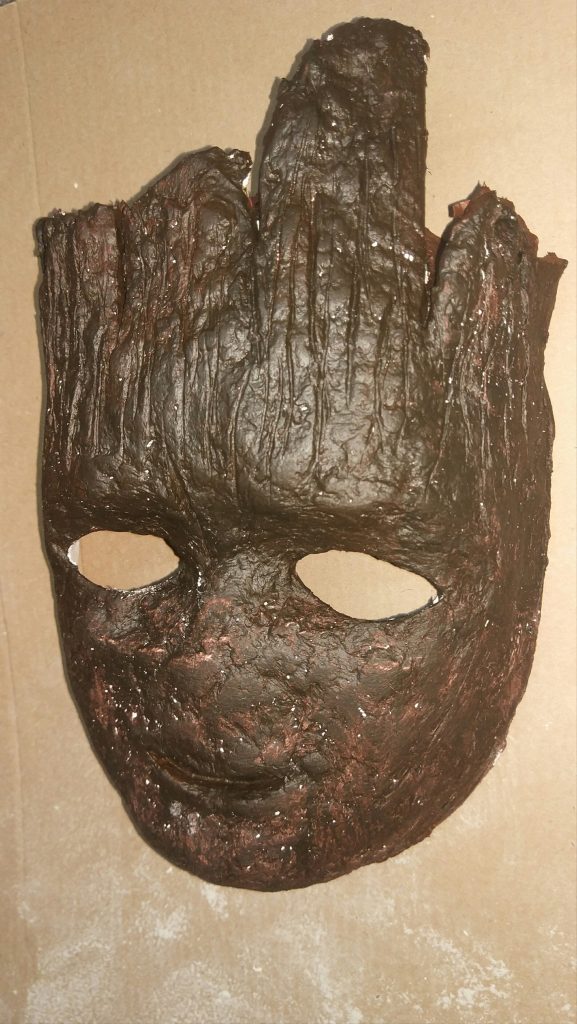
We started of with some basic masks I baught, and using tape and newspapers we shaped the rough form.
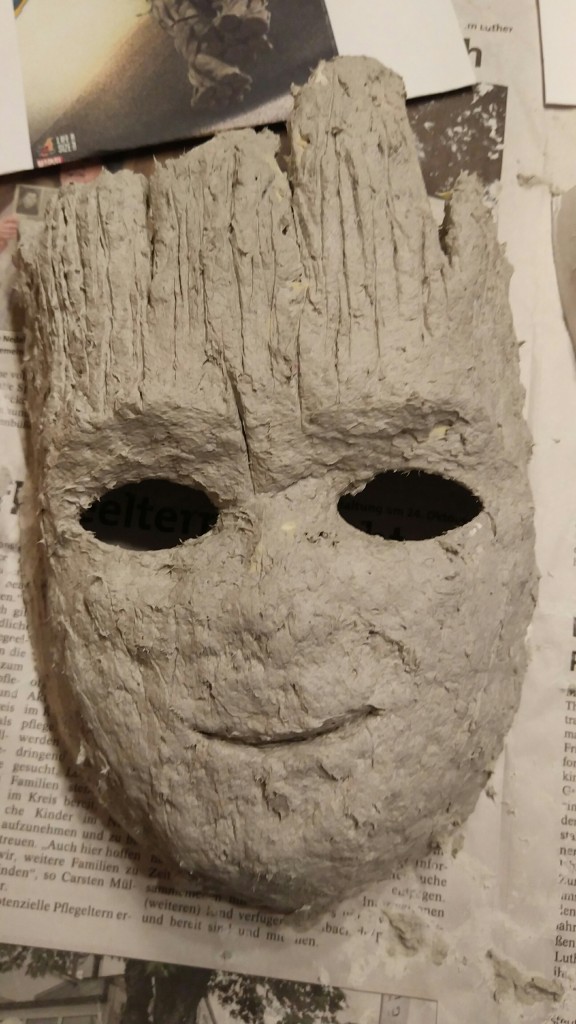
For everything to go faster I also bought some Papermache which mixed with water resulted in a perfect molding stuff. When it gets dry it isn’t too heavy and it can be sanded with sandpaper.
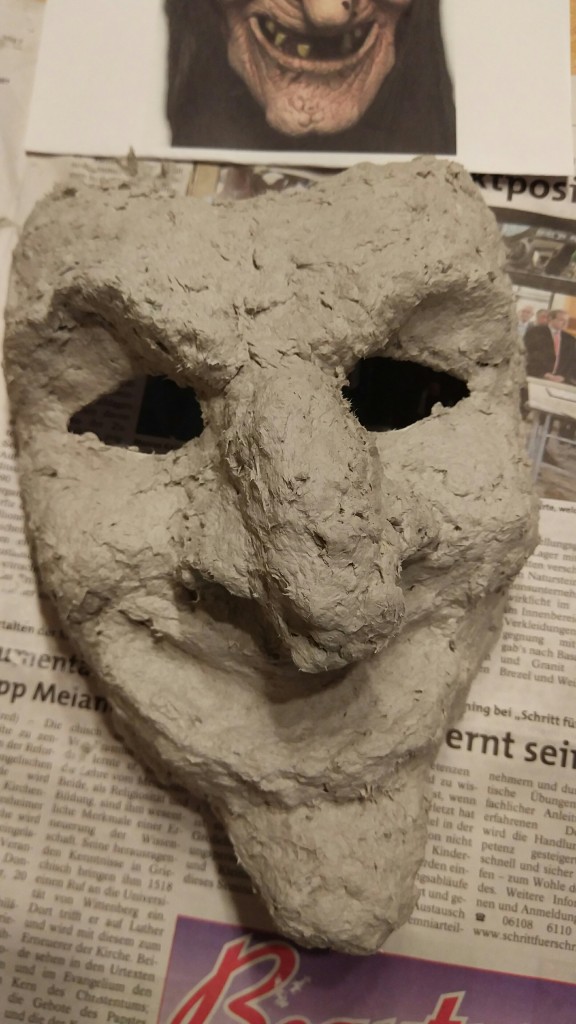
So this is only the first rough form. Still a lot to be done here after it dries out…
Next step was to give them a base color to cover the surface. Later on light colors will be used to give them the real form.
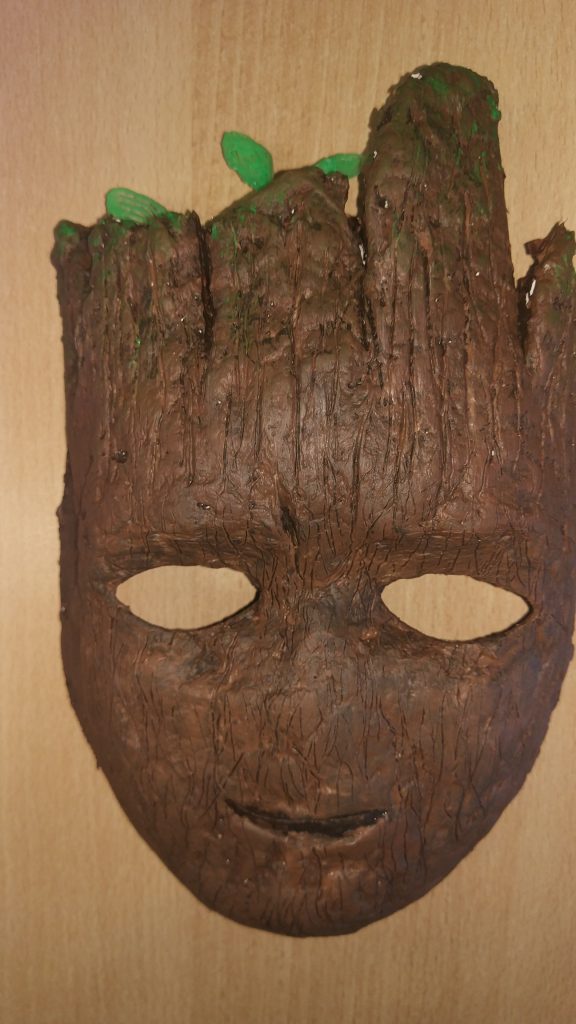
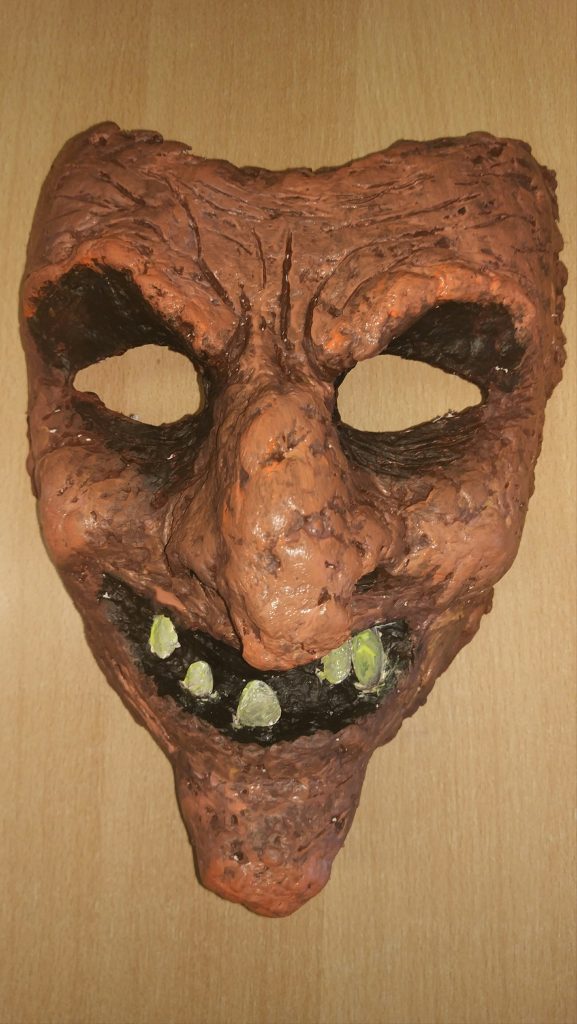
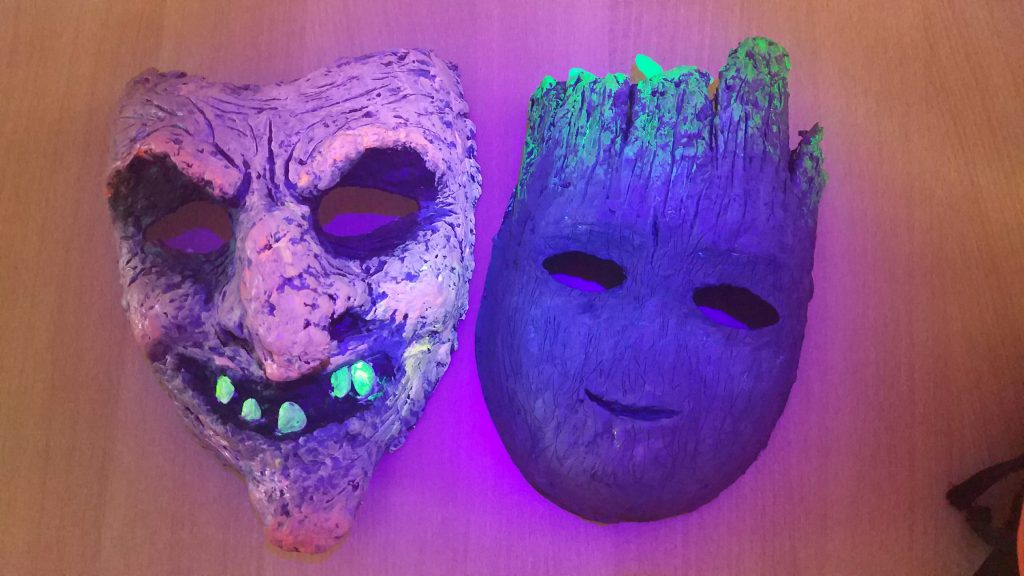
Last touch was painting them in the final colors. Also the leaves for Baby Groot were made with PLA using a 3d pen. We also used UV colors for both so that under UV light tey would shine like the last picture below.
Christmas is coming and everyone gets out all decorations and lightnings from the basement. It’s a wonderfull time of the year to remember every light bulb from the lightning, which was broken last year, and when there was no time to fix it, etc.
Also to remember which decorations were not so appreciated. This is the case with our two little trees which we got for the childrens room. They had to be turned on every evening and off after going to sleep. An unnecessary process which I wanted to fix.
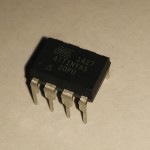
I remembered some time ago I controlled a simple light with a little Attiny85. This had to be done again.
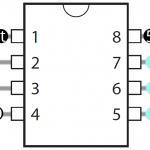
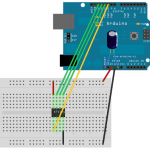
I used a Arduino Uno as a programmer for the Attiny. I had to remember the whole process again, so I’ll better write it here for the future.
In the boardmanager I installed it. I uploaded AndroidISP into the Android Uno, connected the Attiny like in the picture, and then uploaded using the programmer the following code:
A simple program to turn the tree on for 6 hours and off for 18. This means if started in the evening at 18:00, it will always turn on at 18:00 and off at 00:00.
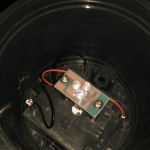
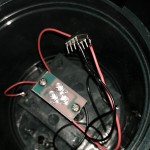
The electronics in the tree couldn’t have been easier to understand and adapt.
Didn’t test it yet, but I hope it works good enough even using the Attiny internal clock.
With this I think I hit the jackpot. No more buying toys for my kids. They now should be able to make their own … 🙂
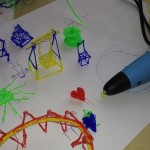
With all the fuss around 3d printing, 3d doodler, 3d pens, … too much 3d theese days 🙂 I really got in the mood to try something without spending a couple of hundreds. So like every other dad does, I found the excuse: buy it “for the kids” 😉
I decided to go with a 3d pen, more exactly this one. I thought about this one and maybe I should have taken this one, but no hurry, there are still a lot of events coming “for the kids” 🙂
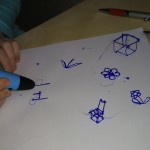
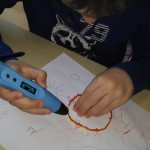
The first tries were not so lucky. A lot of fun, but clearly some amount of handywork is needed.
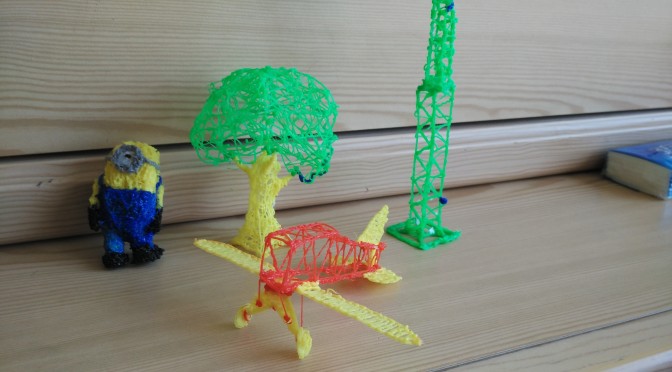
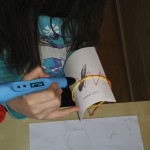
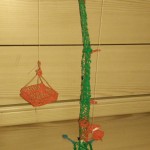
But like always with the kids, with more skill comes more fun. So the next tries looked better and better.
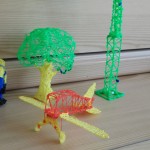
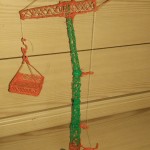
The last was a fully functional crane with a crank used to lift objects.
With time the toys can look good enough not to end in some box and be forgotten. And while the kids have fun, the parents can chill 😉
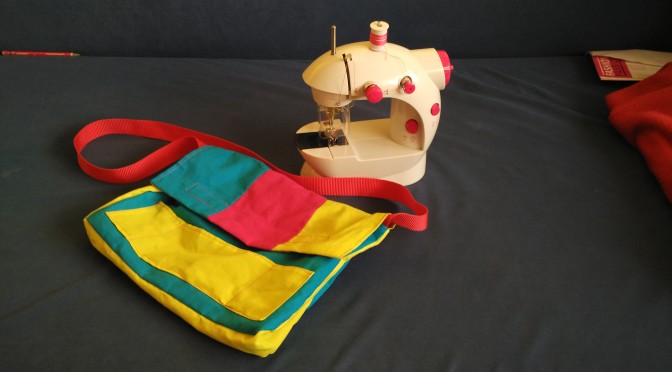
So my daughter got a toy sewing machine, a little battery powered one, much more functional than I thought.
So after trying to remember how it’s done, we started to develop a pattern based on a handbag she saw on the internet, put it on paper, and cutting out the material. Step by step we have got it. She sewed the most of it. Still learning, but we got as far as we could. She still wants to stick some figurines on it, which she will make soon with a 3D pen (see my other post) …
OK, now this is really only the first of many steps of a project which will for sure take more than my other ones.
Nowadays a robot cleaner is no big news, many have them already, and a lot of companies try to build them and do a better job than the competition. They are getting also cheaper and cheaper, and are affordable enough to try.
But the biggest problems still persist. The movement algorithms are still pretty basic, the robot cleaner has no clue about the layout of the room, where he already was, and what it still needs to clean. Also more complex places like table and chairs (every time in another position) are still handled more or less random, and not precise enough due to the size of the robot cleaner.
So for my project I had this idea: what about a flock or swarm of robot cleaners of smaller size than usual, which are aware of the room layout, learn the changes in the room layout, and most of all aware of each other, and of the paths the other ones already walked (which reduces the cleaning redundancy of portions of the floor)
The to-do list ist quite big so lets just start:
Start off with a simple robot, which connects via WiFi to the router or PC.
Decide on the sensors needed to map the room, the path and the obstacles
Build at least two more robots.
Build a “Mothership” application on the PC, which connects all of them and centralizes the information from each of them
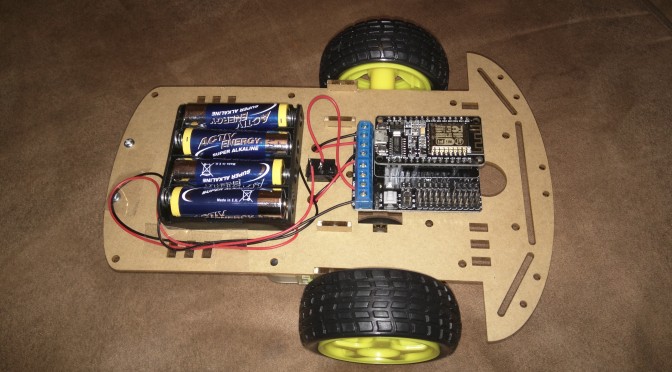
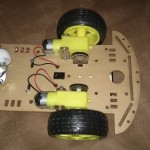
Starting with the first part, I decided to go with a simple DIY package, the NodeMCU Lua ESP8266MOD car which consists of the NodeMCU dev board, the ESP8266 wi-fi module to connect to other devices as access point or directly to the router. Also a motor driver, wheels and motors are available, so the start was simple.
For now the car is in AP mode, it lets a smartphone connect to it and send commands from an app.
Next I will connect the car to the router and try to control it from the PC via the router.
Still a lot to do. I will post my progress, as soon as it’s worth mentioning 😉 …
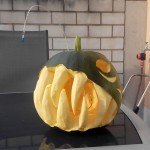
This is a joint effort between my wife, kids and me and is supposed to be a birthday cake for my son’s 6th birthday. With every cake the kids have more and more fun doing them, and of course get better at it 😉
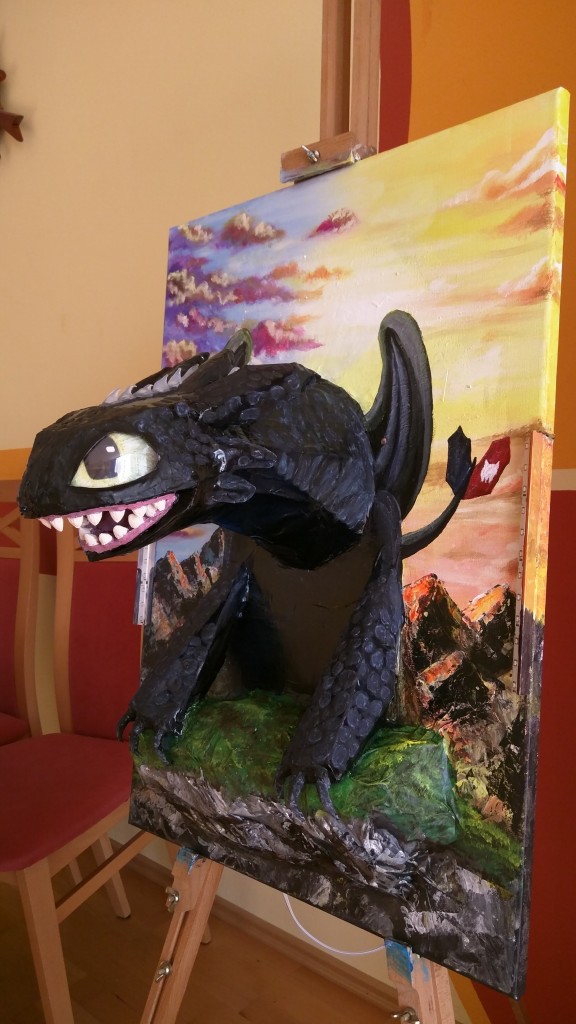
It always takes a little time until I finish my works, but I finally made it.
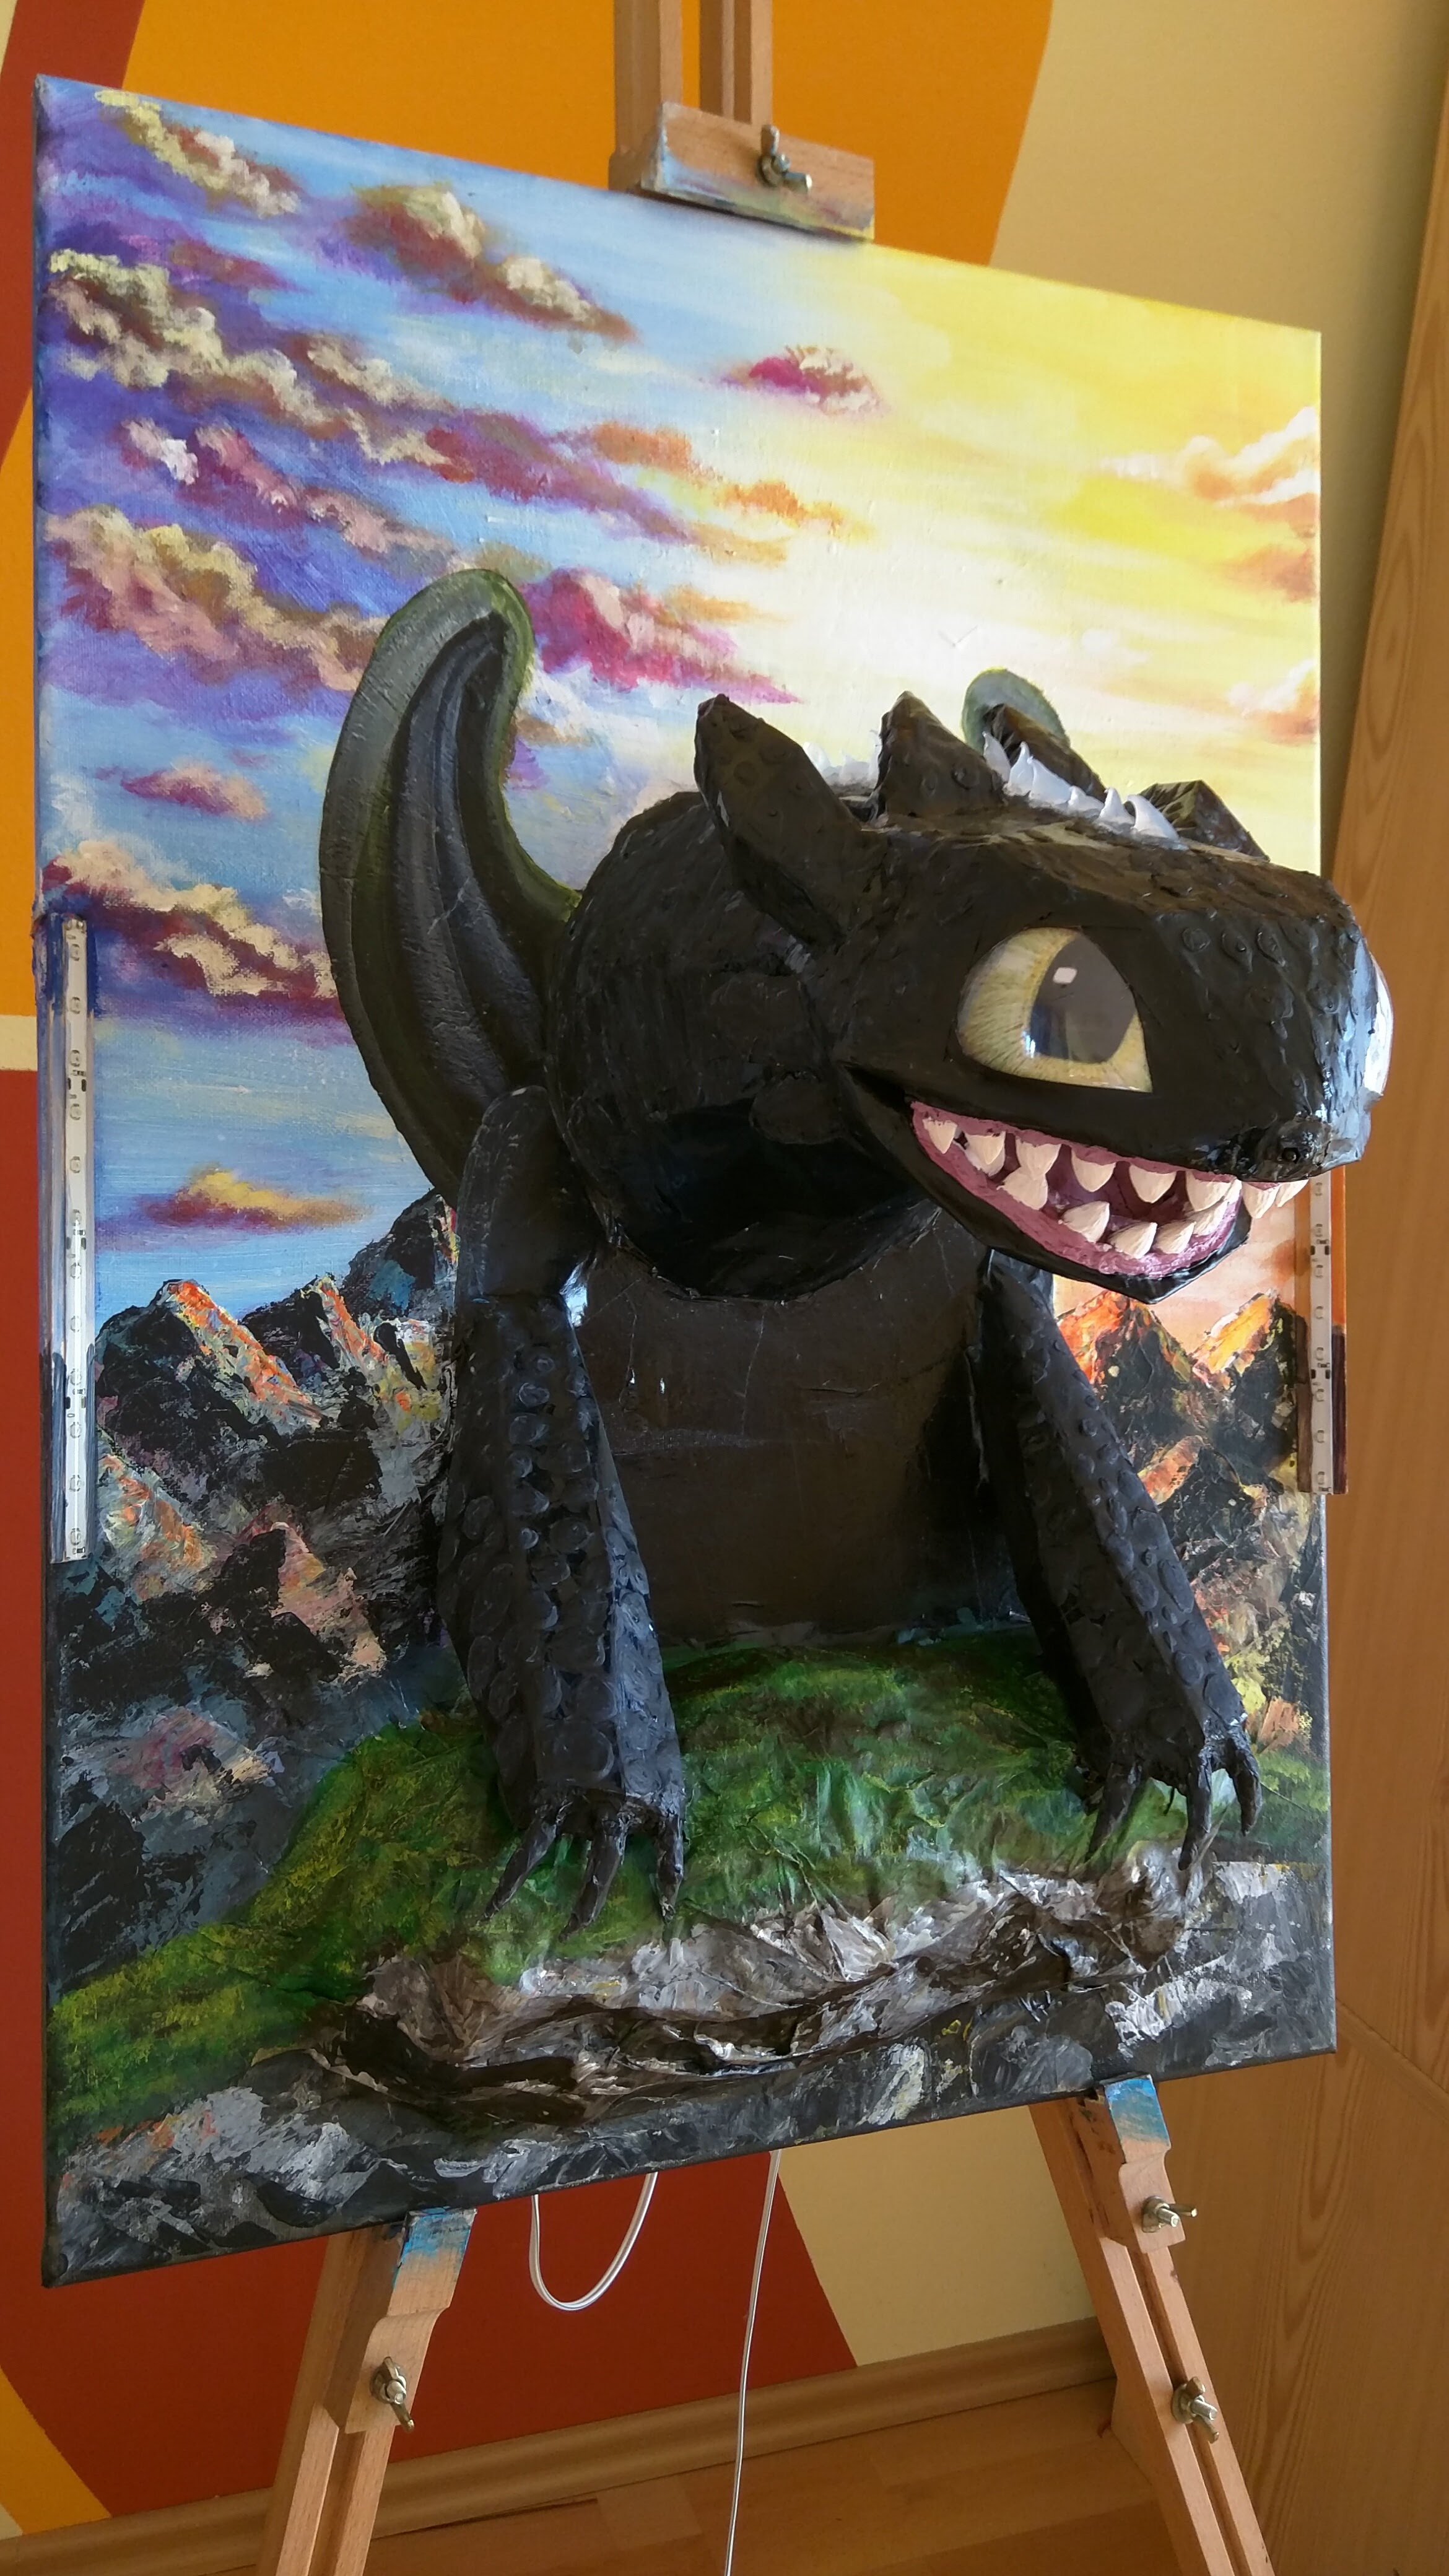
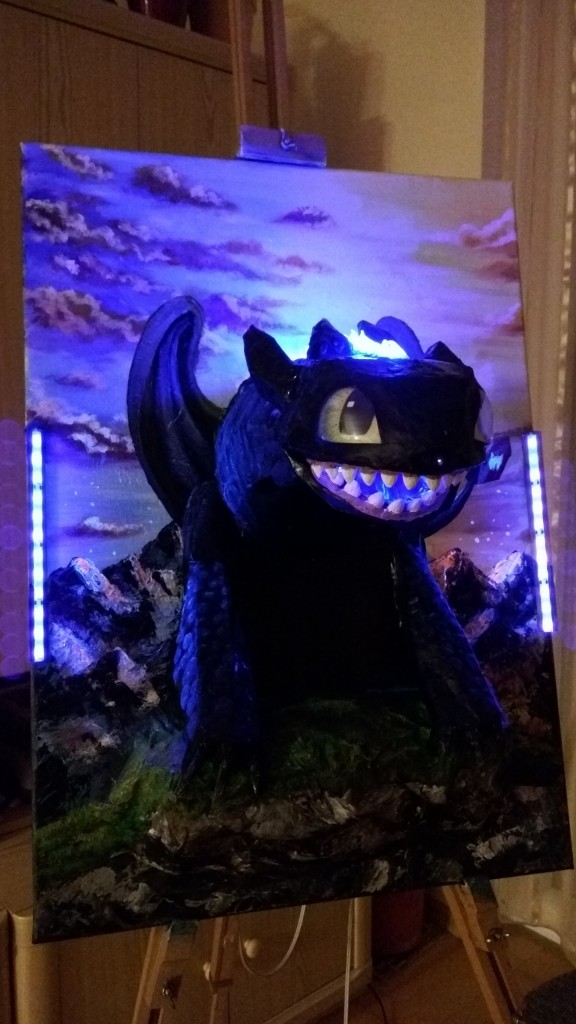
From my last post, the next step was painting the background, clouds, mountains, rock, etc.
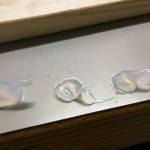
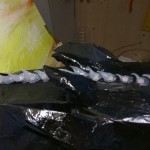
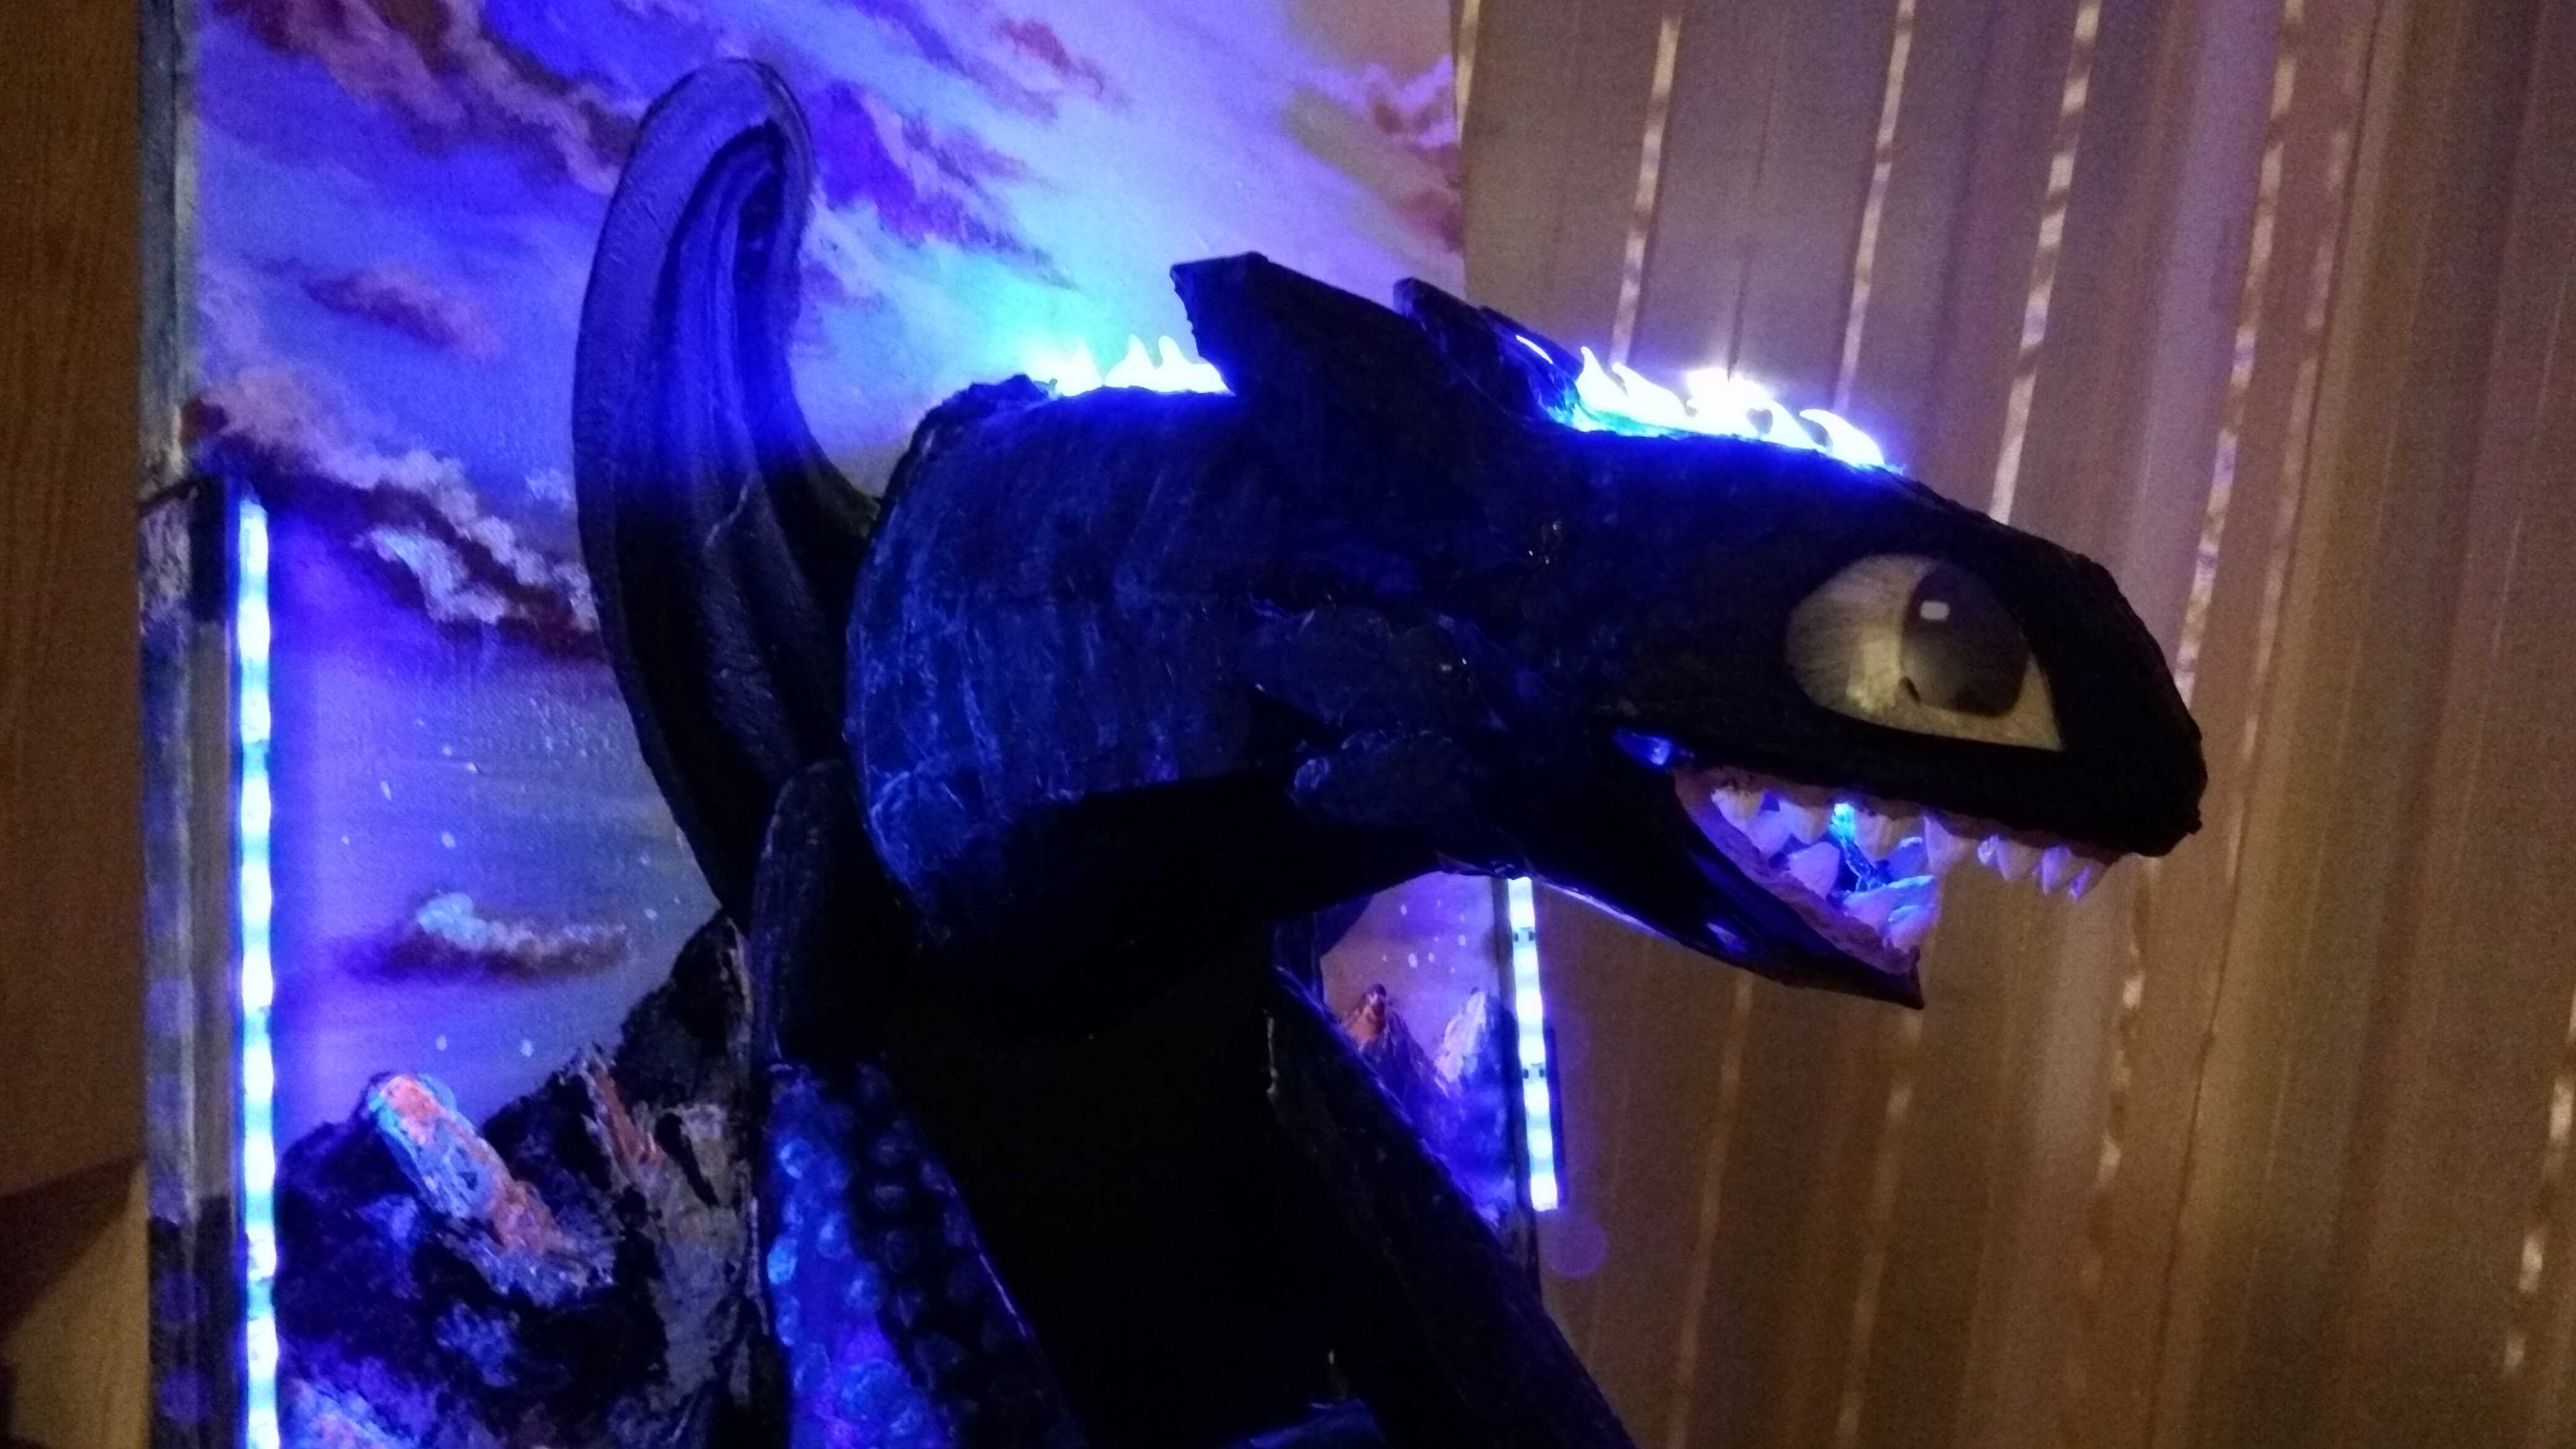
Then I had to create back spikes from silicone, since the led strip from the back had still to be visible through the spikes. I added also the electronic parts: light resistor on the right wing, proximity sensor on the nose, side uv led strips and 2 blue leds in the mouth.
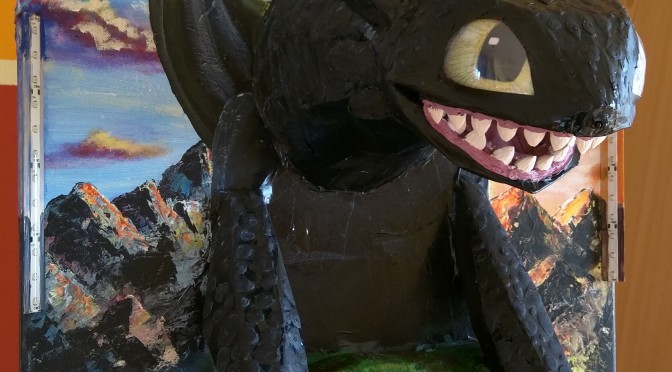
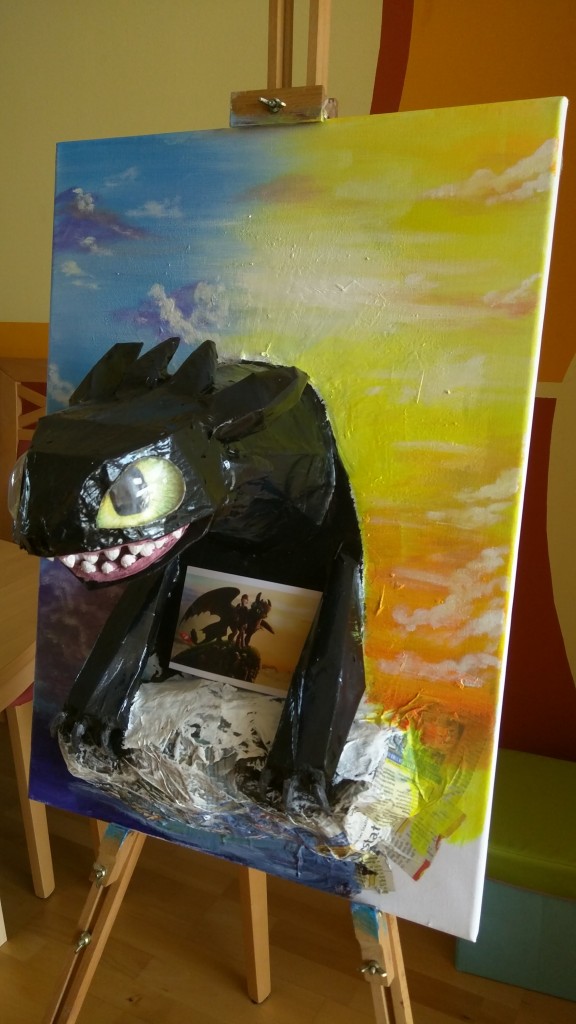
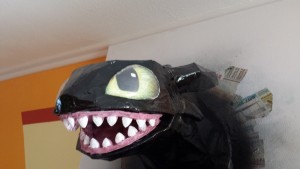
I guess there are not many kids theese days who don’t know him: Toothless from “How to train your dragon”. I thought I give it a try, since after the firefighter truck for my son, my daughter now also wants some “light effects” in her room.
So the original ideea was to create a Toothless model from the 2nd movie, which can also light up in blue. The final model will be a painting around a toothless model, with blue leds in the mouth to simulate the plasma, a short blue led strip on top of Toothless to light up the spines, 2 uv blacklight led strips on the side to simulate the light on the scales (which will be painted with blacklight paint) a photoresistor which detects day/night (at night it will turn on a night light by default) and an infrared distance measuring sensor on its nose, as a trigger for the “plasma” and to cycle through all programs.
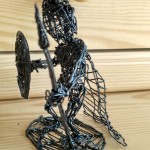
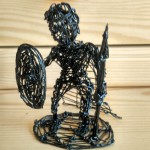
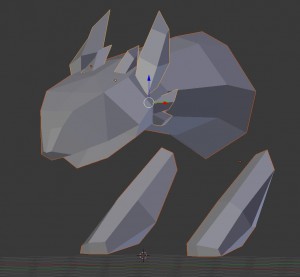
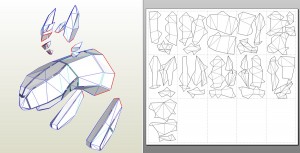
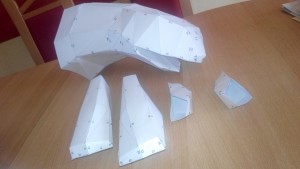
So I started to model the dragon in Blender, and prepared it afterwards for printing in Pepakura. After some hours of work it was cut out and sticked together.
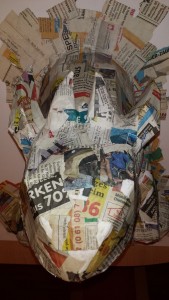
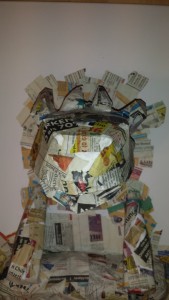
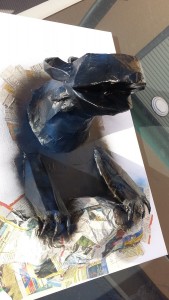
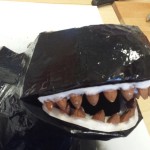
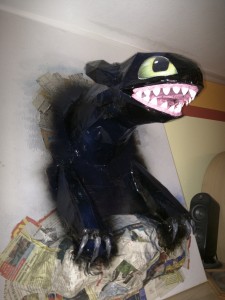
The next step was a layer of paper mache for it to get stronger, and some black spraypaint as the base color.
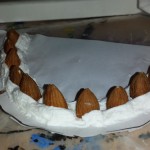
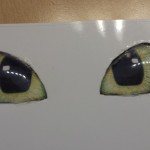
Then I used some almond seeds and again paper mache to make the teeth. And for the eyes I used a part from a plastic bottle and the printed eyes.
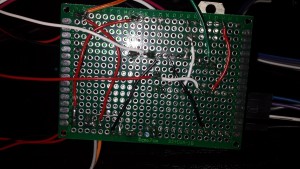
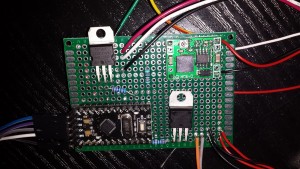
Now for the electronic part, I started to put everything together on a board. Mainly an Arduino Pro Mini will do all the tricks described at the beginning. It is easy to use and can be easily reprogrammed if changes are needed. I just really need to work on my electronics layout and soldering skills 😉
After putting it all together, it looks like this:
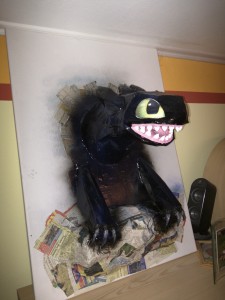
Like the title says, this is only the first stage I tried to finish before the vacation. It still needs a lot of work.
Todo:
paint details on Toothles (nicer teeth, scales, uv paint, edges of eyes, edges of mouth, spines etc.)
paint the background (mountains, rocks, tree, sky) and the rock it stands on
put all lights on and wire all the electronics together