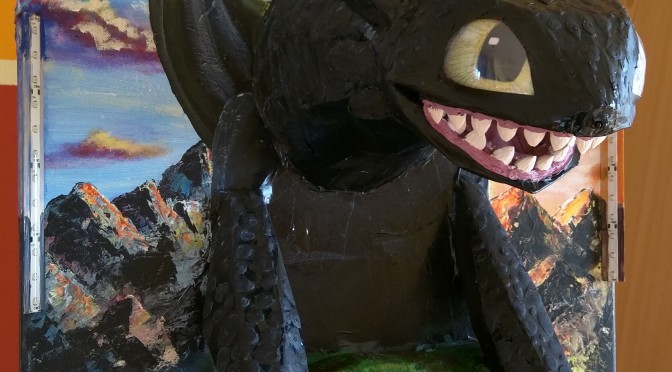
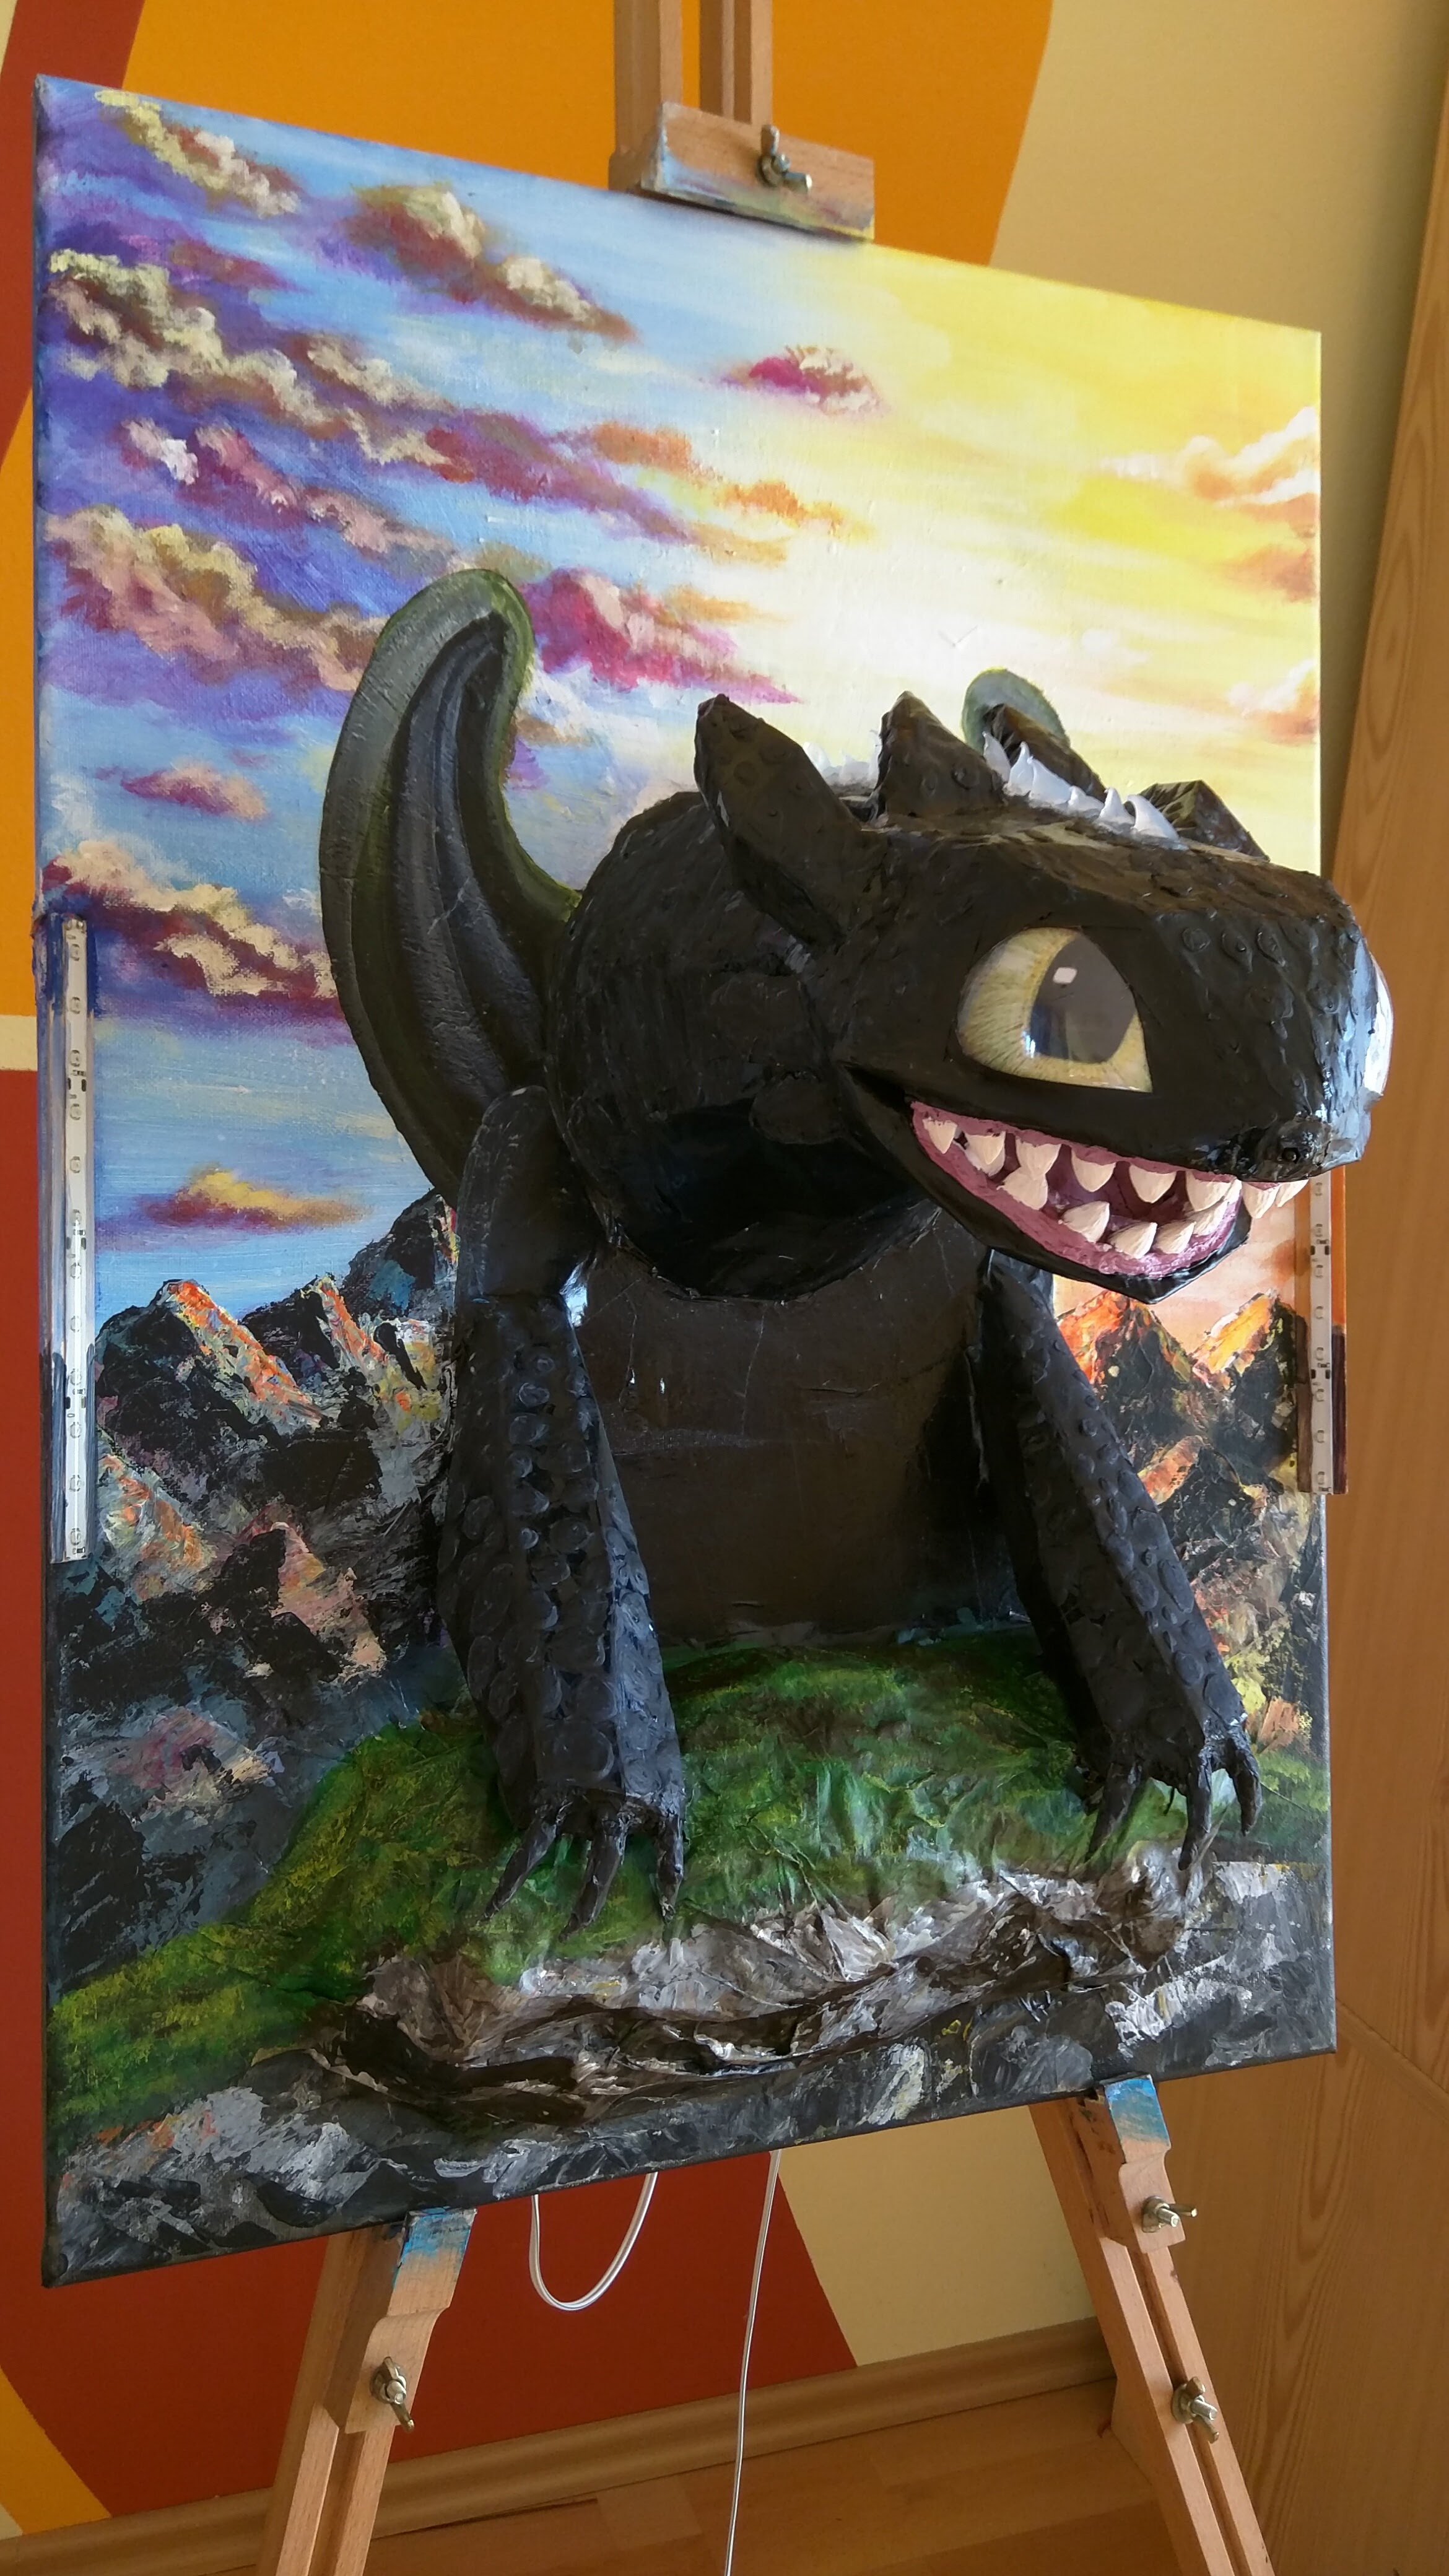
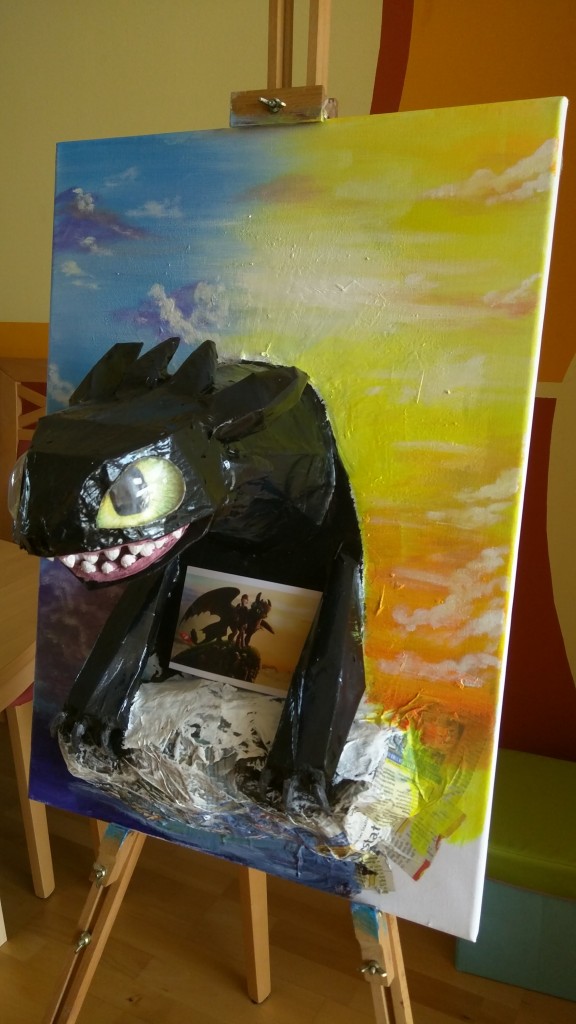
I guess there are not many kids theese days who don’t know him: Toothless from “How to train your dragon”. I thought I give it a try, since after the firefighter truck for my son, my daughter now also wants some “light effects” in her room.
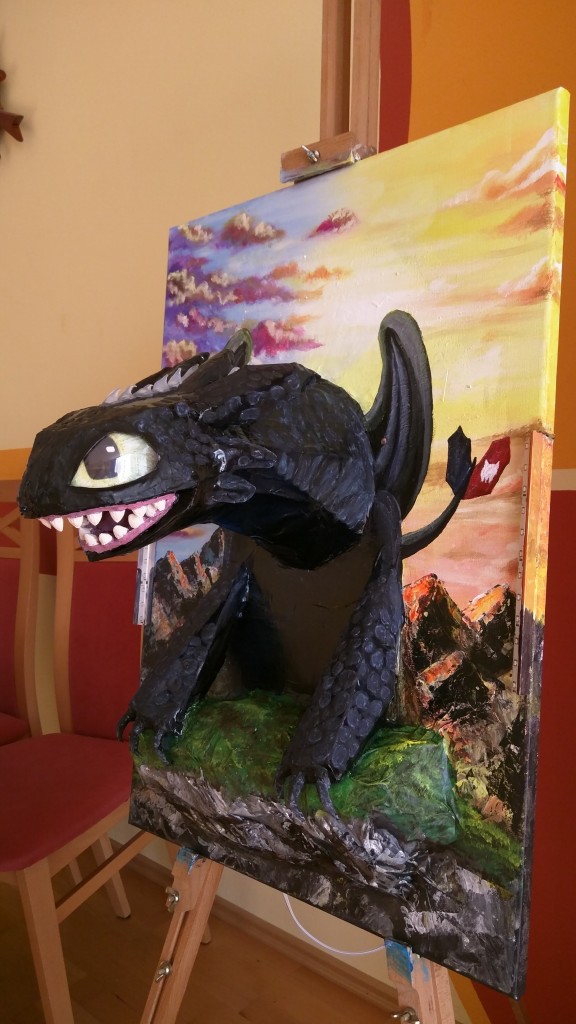
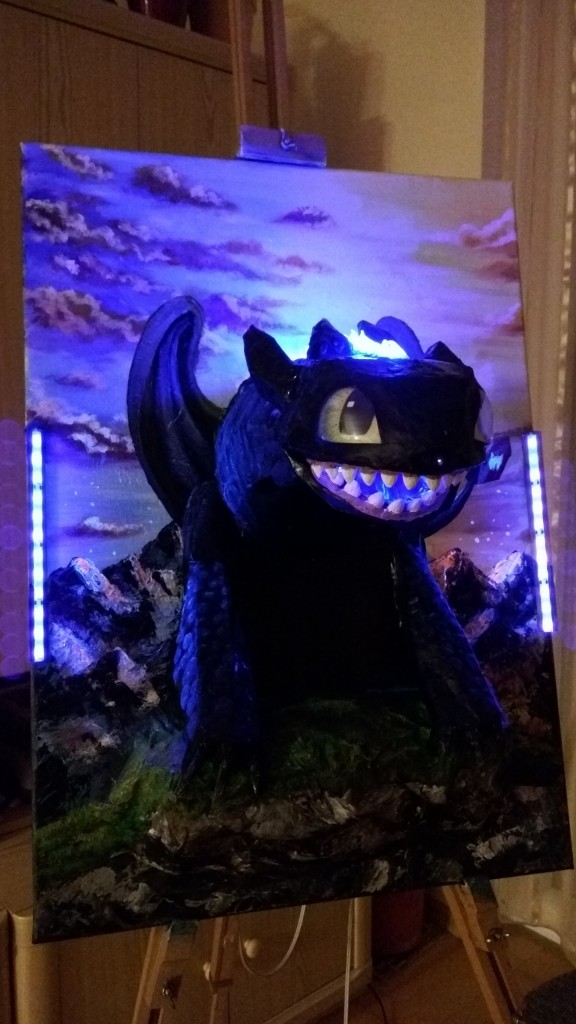
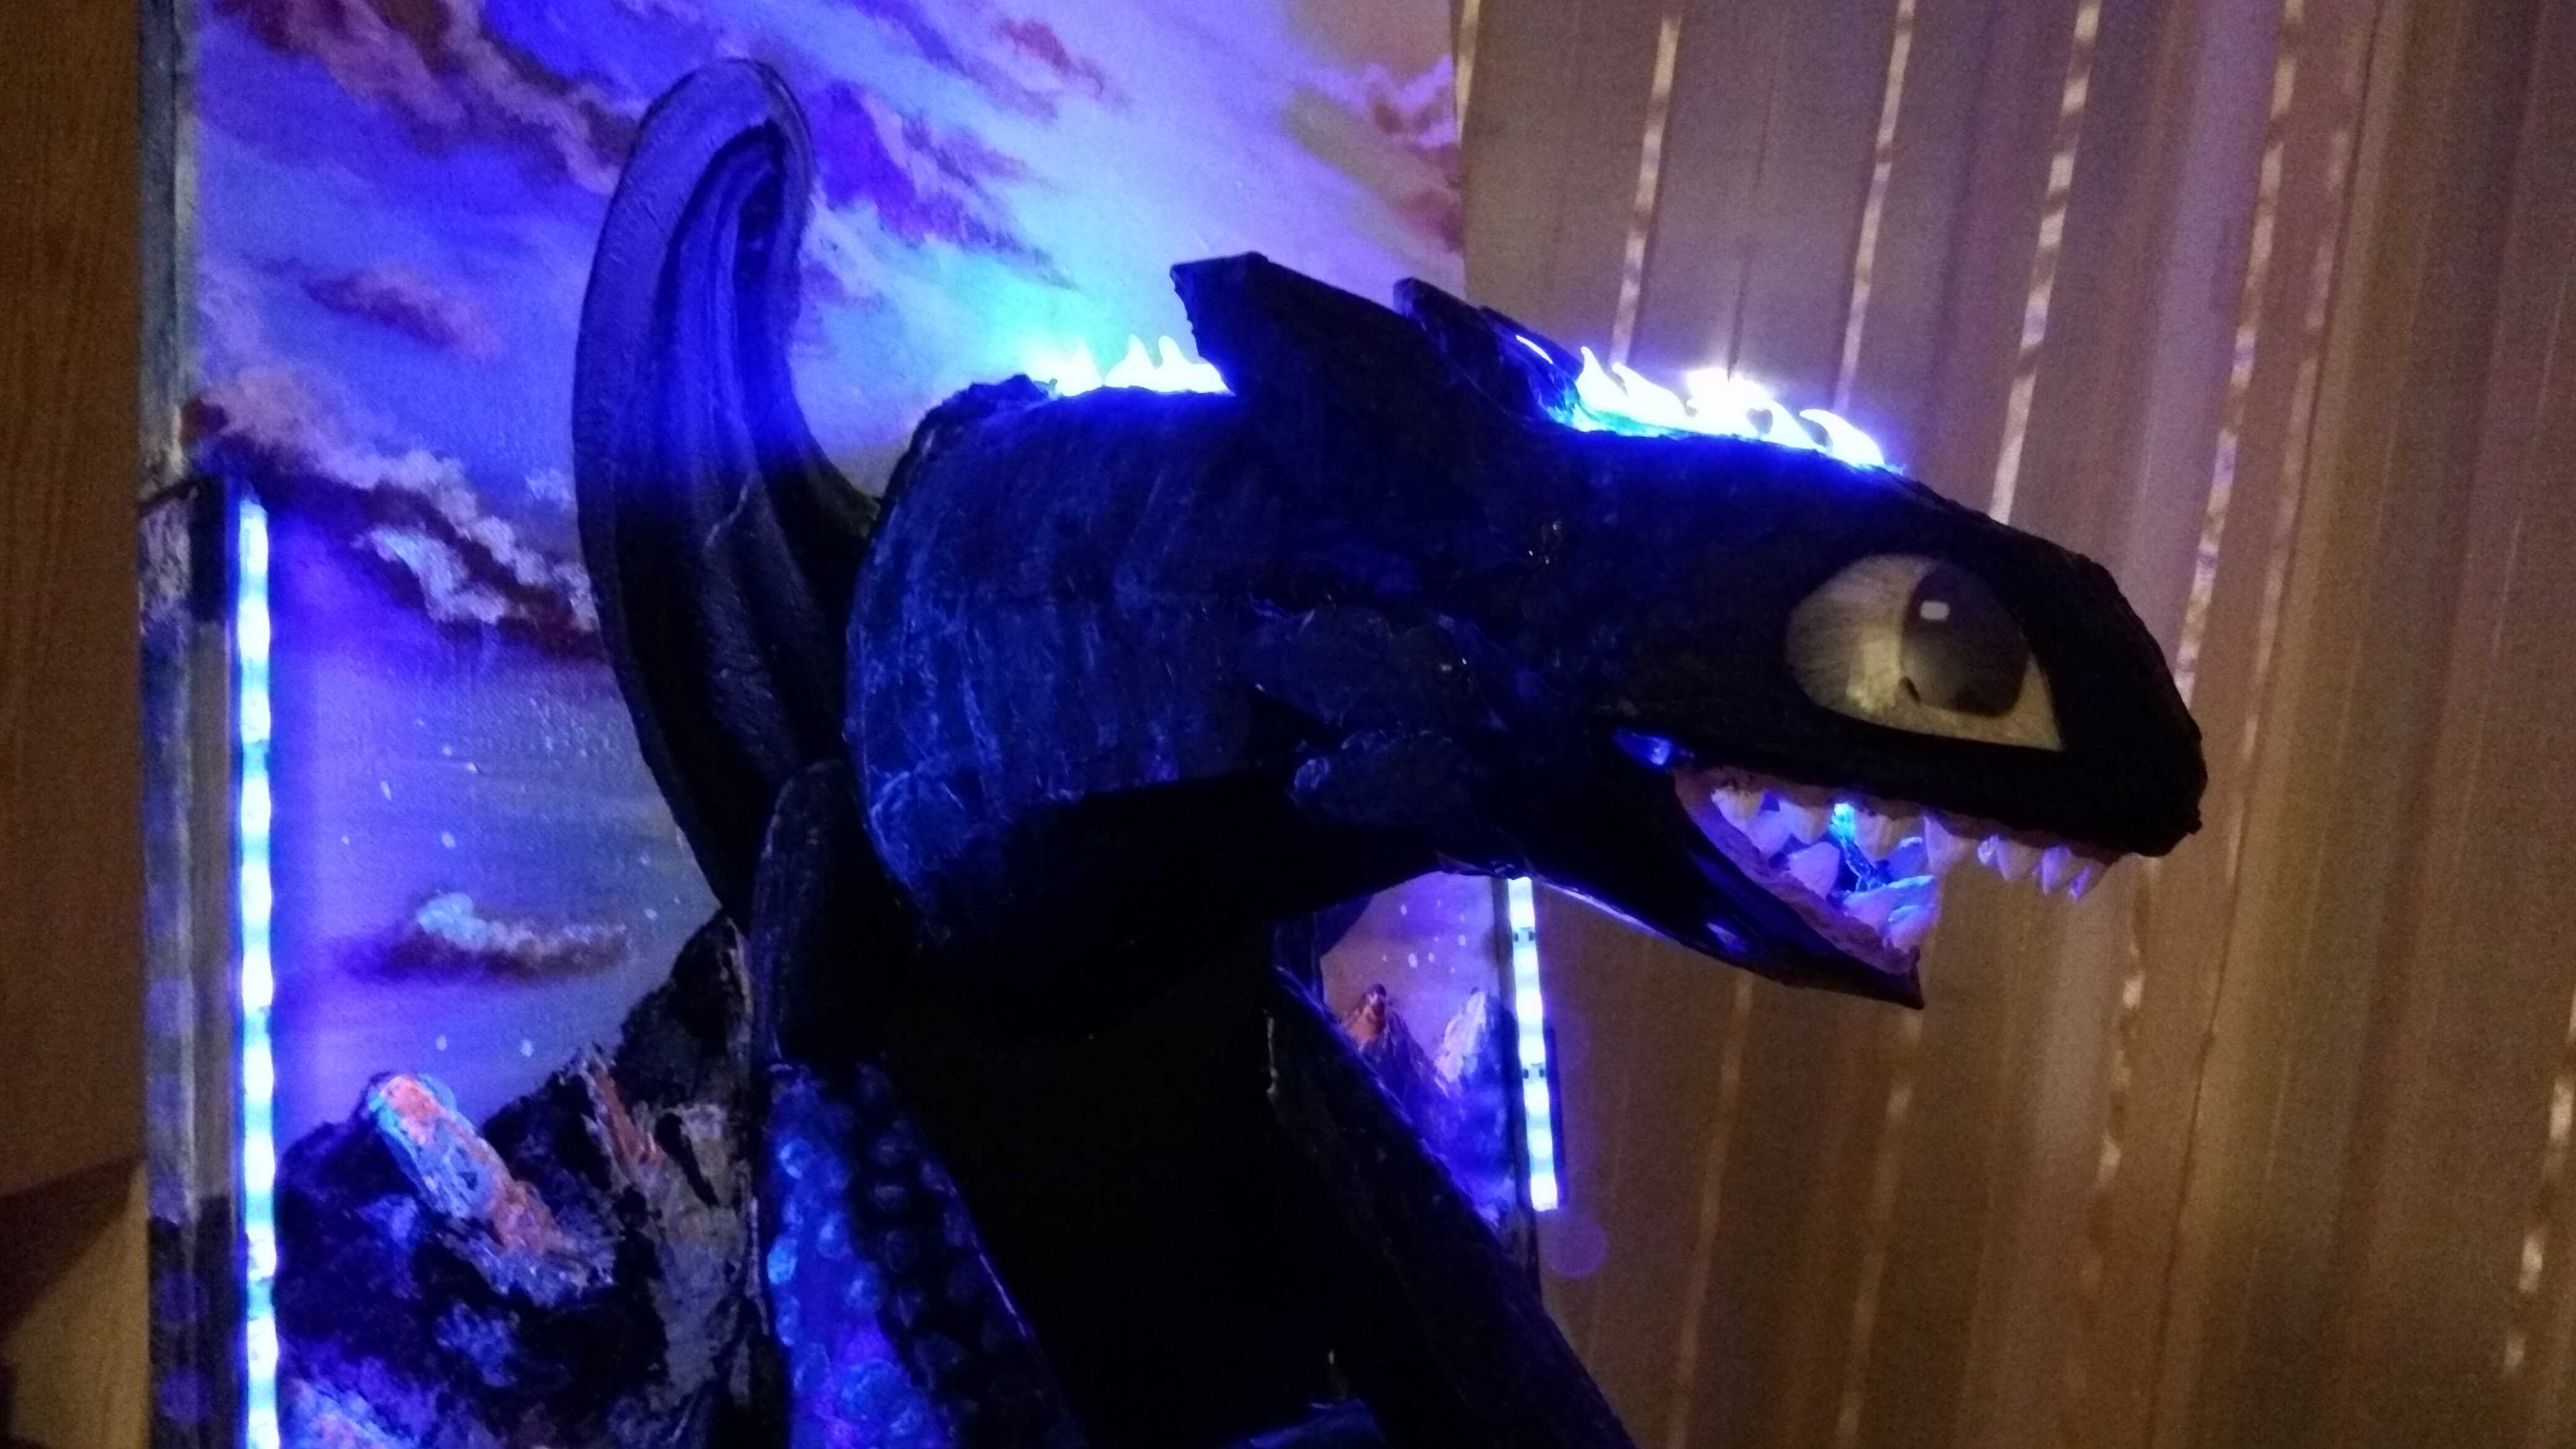
So the original ideea was to create a Toothless model from the 2nd movie, which can also light up in blue. The final model will be a painting around a toothless model, with blue leds in the mouth to simulate the plasma, a short blue led strip on top of Toothless to light up the spines, 2 uv blacklight led strips on the side to simulate the light on the scales (which will be painted with blacklight paint) a photoresistor which detects day/night (at night it will turn on a night light by default) and an infrared distance measuring sensor on its nose, as a trigger for the “plasma” and to cycle through all programs.
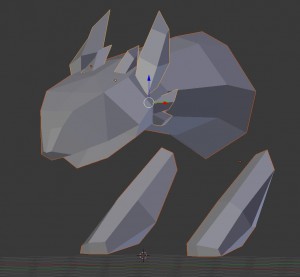
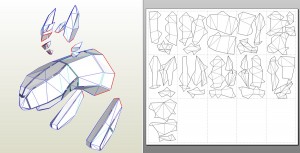
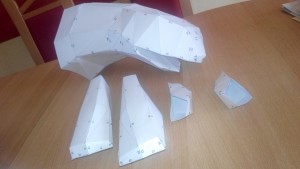
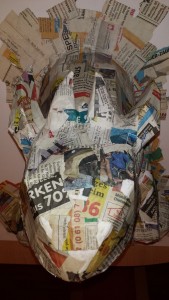
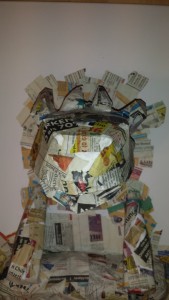
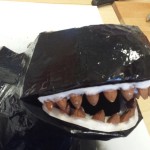
So I started to model the dragon in Blender, and prepared it afterwards for printing in Pepakura. After some hours of work it was cut out and sticked together.
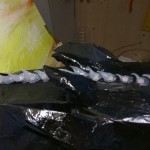
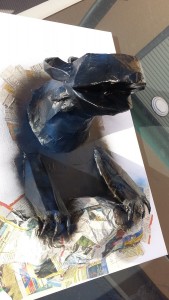
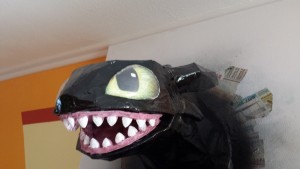
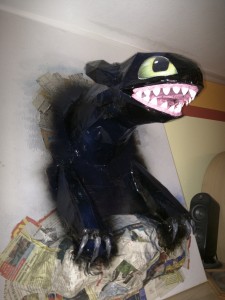
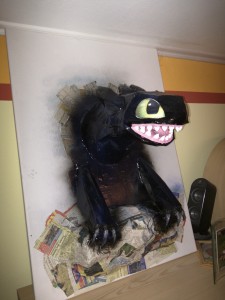
The next step was a layer of paper mache for it to get stronger, and some black spraypaint as the base color.
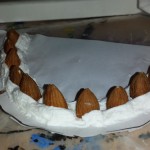
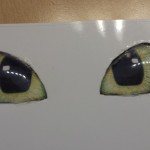
Then I used some almond seeds and again paper mache to make the teeth. And for the eyes I used a part from a plastic bottle and the printed eyes.
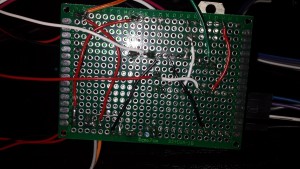
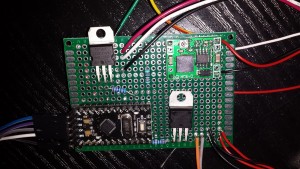
Now for the electronic part, I started to put everything together on a board. Mainly an Arduino Pro Mini will do all the tricks described at the beginning. It is easy to use and can be easily reprogrammed if changes are needed. I just really need to work on my electronics layout and soldering skills 😉
After putting it all together, it looks like this:
Like the title says, this is only the first stage I tried to finish before the vacation. It still needs a lot of work.
Todo:
- paint details on Toothles (nicer teeth, scales, uv paint, edges of eyes, edges of mouth, spines etc.)
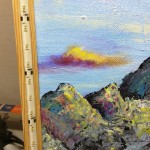
- paint the background (mountains, rocks, tree, sky) and the rock it stands on
- put all lights on and wire all the electronics together